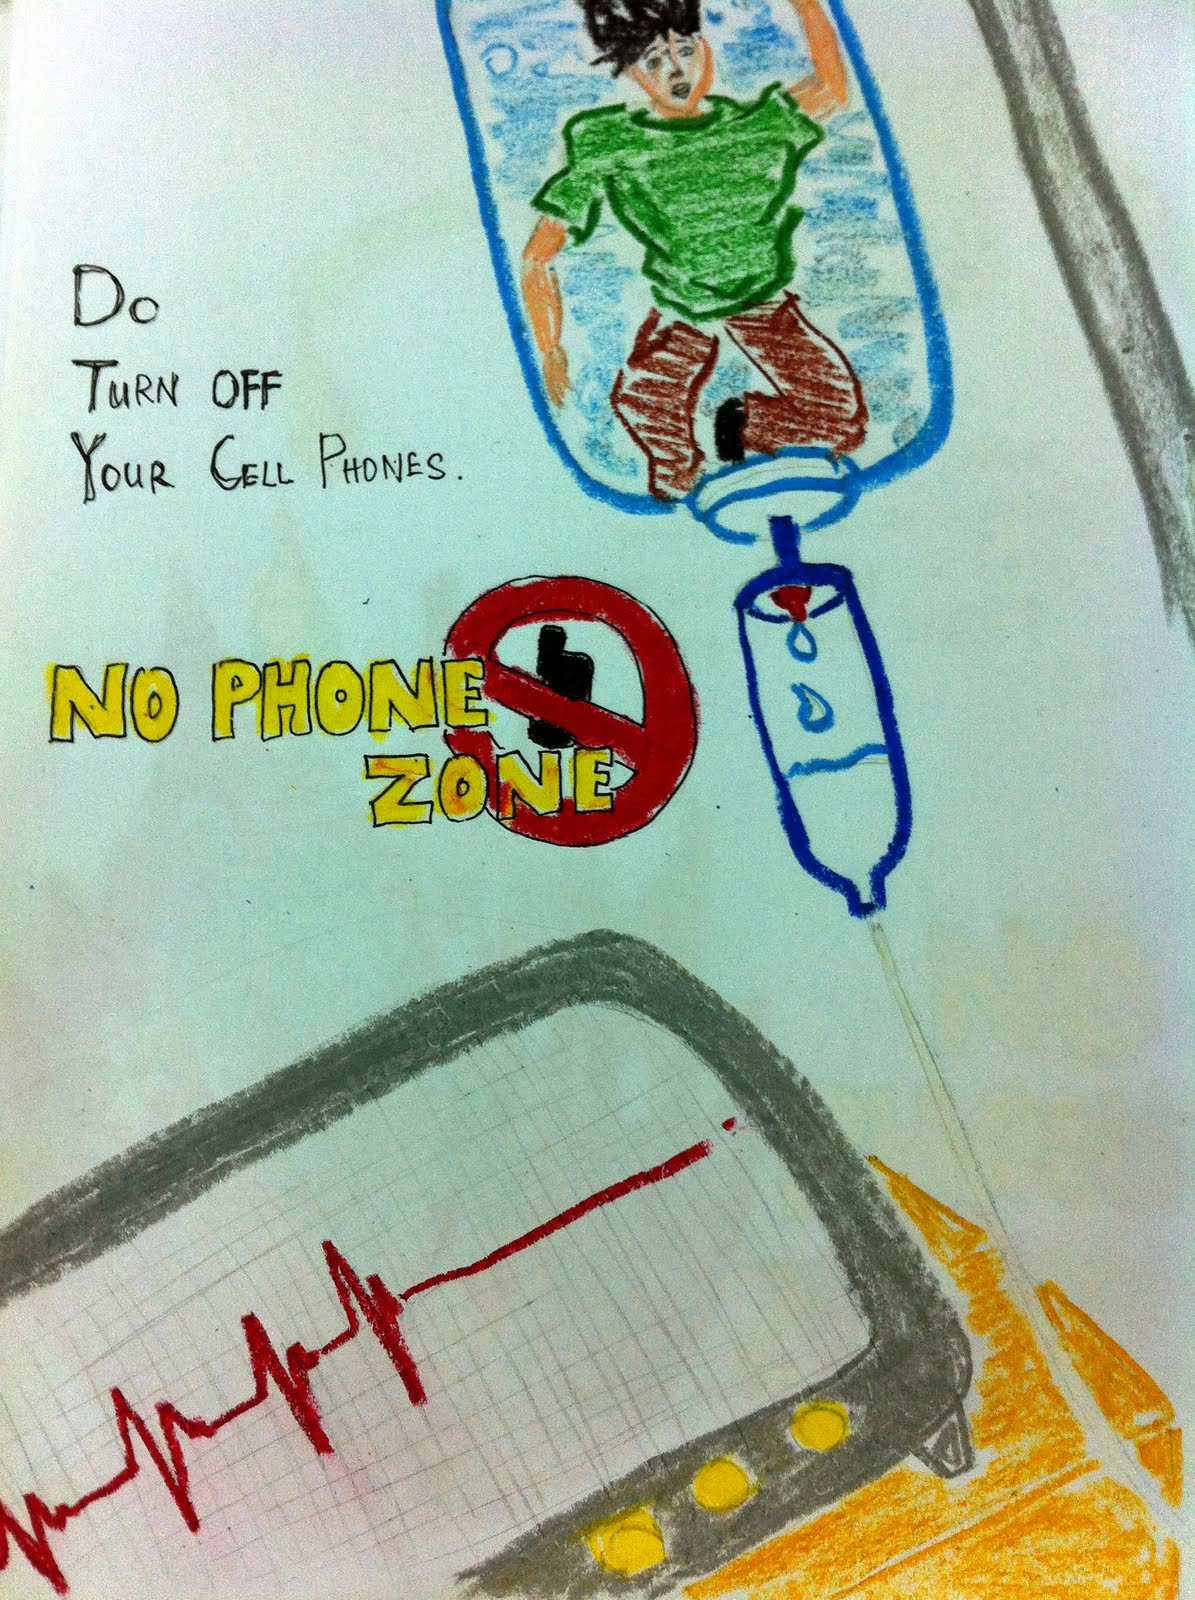
Wednesday 30 November 2011

Release the Health Time Bomb!


Theme: No Phone Zone
Title: Release the Health Time Bomb!
Tagline: Don't let the phone harm your body!

Description:
This artwork illustrates the linkage between cellphone and human body in a unique way! The cellphone with radiation symbol in the human body symbolizes a cell phone is a harm to human and tends to tell that humans are like putting the health time bomb in our body everyday. With the concept of using Surrealism, unzip the human skin tends to create the unexpected feeling and brings out the message of putting away the phone is just like releasing the health time bomb.

Monday 14 November 2011

First Design: Life? Phone? Intravenous Drip?

First Design:


Left:
first sketch. Drawn by free hand, typography in handwriting as well. Colored by Crayon.

Right:
Second sketch. test typography.
use the "Microsoft Word 2010" to edit the picture format, adjust the brightness +20%, contrast 0%.


Next, by using Adobe Photoshop CS5 "clone stamp tool" to remove the handwriting words and the NO PHONE ZONE's logo. I prefer to use "clone stamp tool" rather than "eraser tool" because I want to remain the similarity of the background color tone and avoid the differences. Use “BSBDF 50” as font face for the tagline.


Final.

Steps:
1) Place the original sketch into a new layout with a size of 16x20inches, 300Dpi . Remove the words by using "clone stamp tool". 


2) Use "Magic wand tool" to select the area. Use "Quick Mask" and use "Eraser tool" to erase the unwanted area. Click "Quick Mask" again to re-select the wanted area. 
Next, create a NEW LAYER and choose "Brush Tool" to recolor the selected area. Filter : Paint Daubs.

3) Using the same techniques as above to recolor for the rest of the parts in this design. Parts by parts filtered with different types of textures accordingly to the feel that I wanted to bring out. 


4) add in text.


Second Design: Release the Health Time Bomb!

Second Design:

Left: 
first sketch. Drawn by free hand. Colored by water color.

Right:
Second sketch. test typography.
use the "Microsoft Word 2010" to edit the color saturation to 300%.


Next, by using Adobe Photoshop CS5 "clone stamp tool" to remove the handwriting "NO PHONE ZONE" and the inverted radioactive logo (which was a mistake). Use “The Dreamer” as font face for the tagline.


Final


1) Use "clone stamp" to remove the unwanted parts.

2) Use "Magic Wand tool" to select the hair area. Click "Quick Mask" and use "eraser tool" to erase the unwanted area. Click "quick mask" again to reselect the wanted area. Use " Brush tool - Flat Angle Low Bristle Count" to redraw and recolor the hair.


3) Use "Magic Wand tool" to select the hand. Click "Quick Mask" and "eraser tool" to erase the unwanted area. Click "Quick Mask" again to reselect the wanted area. Next, use "brush tool" and choose a darker color to add the color tone of the hand. 


4) Use the same technique to recolor the phone with yellow, black, and red for the cross sign. Filter the cross sign by "texturizer" .


5) Use the same technique to select the body part. recolor it by add the tone color. Next, select the background and filter it by "mosaic tiles".


6) Open the Radioactive image, use "Magic Wand  tool" to select the wanted area, press "Ctrl C" to copy and "Ctrl V" to paste on the design layout. Go to "Edit" and click "free transform" to adjust the size.


7) Add text. To create shadow effect, create "Release the health time bomb!" in two different layers. Adjust it. Choose the "shadow" layer and filter it by "blur -- Gaussian Blur". The same method for "Don't let the phone harm your body".


Third Design: Storm Hits!

Third Design:


Left: 
first sketch. Drawn by free hand. Colored by Color pencils.

Right:
Second sketch. test typography.
use the "Microsoft Word 2010" to edit the color temparature to 11 200K.


Next, by using Adobe Photoshop CS5 "clone stamp tool" to remove the handwriting words and "NO PHONE ZONE" logo. Use “Postinkantaja Job” as font face for the tagline.

Final

1) Use "Magic Wand tool" to select the area, click "Quick Mask" and use "eraser tool" to eraser unwanted area. Click "Quick Mask" again to reselect the wanted area. Use "Brush tool" to recolor and add tone for the area. Next, click "Filter" -- "Plastic Wrap" to bring out the feel. 

2) Same method to other parts. Filter with different textures.


Use "Brush tool" to draw two different colors and filter it as background.

3) Add text.